Showing posts with label chat bot. Show all posts

Thursday, October 11, 2018

CentOS + MS Bot Framework: Solving error "ChatConnector: receive - invalid token"

When I deploy my chat bot written with MS Bot Framework on CentOS, I got the error "ERROR: ChatConnector: receive - invalid token. Check bot's app ID & Password", although I provide exactly my bot's app ID & Password.


After googling, I know the problem is server time not corrected (in my case, it is late ~ 20 minutes), so the security token is invalid.

You can solve this easily by syncing your server time with a standard NTP (Network Time Protocol) server. Below are steps.

1. Install ntp and ntpdate
# yum install ntp ntpdate
2. Enable ntpd service
# systemctl start ntpd
# systemctl enable ntpd
Check its status:
# systemctl status ntpd
3. Add some CentOS NTP servers
# ntpdate -u -s 0.centos.pool.ntp.org 1.centos.pool.ntp.org 2.centos.pool.ntp.org
4. Restart ntpd service
# systemctl restart ntpd
5. Check again
# timedatectl
# date

Addition, let set hardware clock to the current server time:
# hwclock  -w
Now you can start your bot without this error. Cheers!

Saturday, October 28, 2017

Setup chat bot (wrriten by MS Bot Builder NodeJS) with Nginx + HTTPS on Windows Server

Continuing with my series of articles on chat bot:
In this article, I will cover a solution to set up an production environment for your chat bot written by MS Bot Builder NodeJS with Nginx & HTTPS on Windows Server. In which, you can register your chat bot hosted on any server (not on Azure) with MS Bot Framework.

1. Install Nginx

Download the latest version for Windows from: http://nginx.org/en/download.html
Unpack it on a folder (e.g. C:\nginx ) and click nginx.exe to run nginx. Open your browser, run http://localhost/. If you see a screen like below, it means Nginx is running well.


2. Run your chat bot

Assuming that you've coded a wonderful chat bot, let run it.  For example, I have a super chat bot by echoing what user says, it is in app.js file as the following:
var restify = require('restify');
var builder = require('botbuilder');

// Create chat bot
var connector = new builder.ChatConnector({
    appId: 'app id of your bot on MS Bot Framework',
    appPassword: 'password of your bot on MS Bot Framework'
 });

// Receive messages from the user and respond
var bot = new builder.UniversalBot(connector, function(session) {
    session.send("You said: %s", session.message.text);
});

// Setup Restify Server
var server = restify.createServer();
server.listen(process.env.port || process.env.PORT || 5678, function() {
    console.log('%s listening to %s', server.name, server.url);
});

// Listen for messages from users
server.post('/api/messages', connector.listen());


Run app.js:
node app.js
Note that appId and appPassword will be replaced by your real values when you register your bot on MS Bot Framework.

3. Set up Nginx as proxy for your chat bot

Assuming that you want to run your chat bot on the link: yourdomain.com/bot. Open nginx.conf file (e.g. C:\nginx\conf\nginx.conf) and add a server configuration for your domain:
server {
        listen      *:80;
        server_name  yourdomain.com  www.yourdomain.com;
        location / {
            root your_web_site_root_folder;
            index  index.html index.htm;
        }
        location /bot {
            proxy_pass http://localhost:5678/api/messages;
            proxy_http_version 1.1;
            proxy_set_header Upgrade $http_upgrade;
            proxy_set_header Connection 'upgrade';
            proxy_set_header Host $host;
            proxy_cache_bypass $http_upgrade;
        }
}
Now you can open the chat emulator for testing with the link http://yourdomain.com/bot to see if it works (see section 3 of Create a Luis Chat Bot on Azure Bot Service - Part 1 for setting the emulator with ngrok):


4. Set up HTTPS

MS Bot Framework just allows to register a bot with HTTPS end point message. So that's why we need to set up HTTPS. Luckily, we can setup HTTPS with free SSL Certificate from Let's Encrypt. You can read my article WAMP 64 Bits + Free SSL (section 5) for how to create a free SSL certificate.

Below is the configuration on nginx for a server with SSL:
server {
        listen       443 ssl;
        server_name  yourdomain.com  www.yourdomain.com;
        ssl_certificate      C:/ProgramData/letsencrypt-win-simple/httpsacme-v01.api.letsencrypt.org/www.yourdomain.com-crt.pem;
        ssl_certificate_key  C:/ProgramData/letsencrypt-win-simple/httpsacme-v01.api.letsencrypt.org/www.yourdomain.com-key.pem;
        ssl_trusted_certificate C:/ProgramData/letsencrypt-win-simple/httpsacme-v01.api.letsencrypt.org/ca-<hex number>-crt.pem;
        ssl_session_cache    shared:SSL:50m;
        ssl_session_timeout  1d;
        ssl_ciphers EECDH+AESGCM:EECDH+AES;
        ssl_prefer_server_ciphers  on;
        location / {
            root your_web_site_root_folder;
            index  index.html index.htm;
        }
        location /bot {
            proxy_pass http://localhost:5678/api/messages;
            proxy_http_version 1.1;
            proxy_set_header Upgrade $http_upgrade;
            proxy_set_header Connection 'upgrade';
            proxy_set_header Host $host;
            proxy_cache_bypass $http_upgrade;
        }
}
Test again on the emulator with https://yourdomain.com/bot

5. Register your bot

Go to https://dev.botframework.com, sign in and click My bots menu for registering your bot. Remember to select Register an existing bot built using Bot Builder SDK when creating new bot.
It will open a page for you keying your bot info. Note that Messaging endpoint is https://yourdomain.com/bot.
Click Create Microsoft App ID and password to create app id & password for your bot. Paste your app ID to the required box then copy the app id & password into the source code of your bot (e.g. appIdappPassword in section 2). Save the setting.

Now you can click Test button on top right for testing your bot directly from the website https://dev.botframework.com. For example:


You can also connect your chat bot to other channel like Facebook (see Create a Luis Chat Bot on Azure Bot Service - Part 2 for how to connect with Facebook).

Alright, you have known how to set up a production environment for your chat bot which can be hosted any where.

Have fun! Any comment is welcome.

Thursday, June 22, 2017

Create a Luis Chat Bot on Azure Bot Service - Part 2

In 
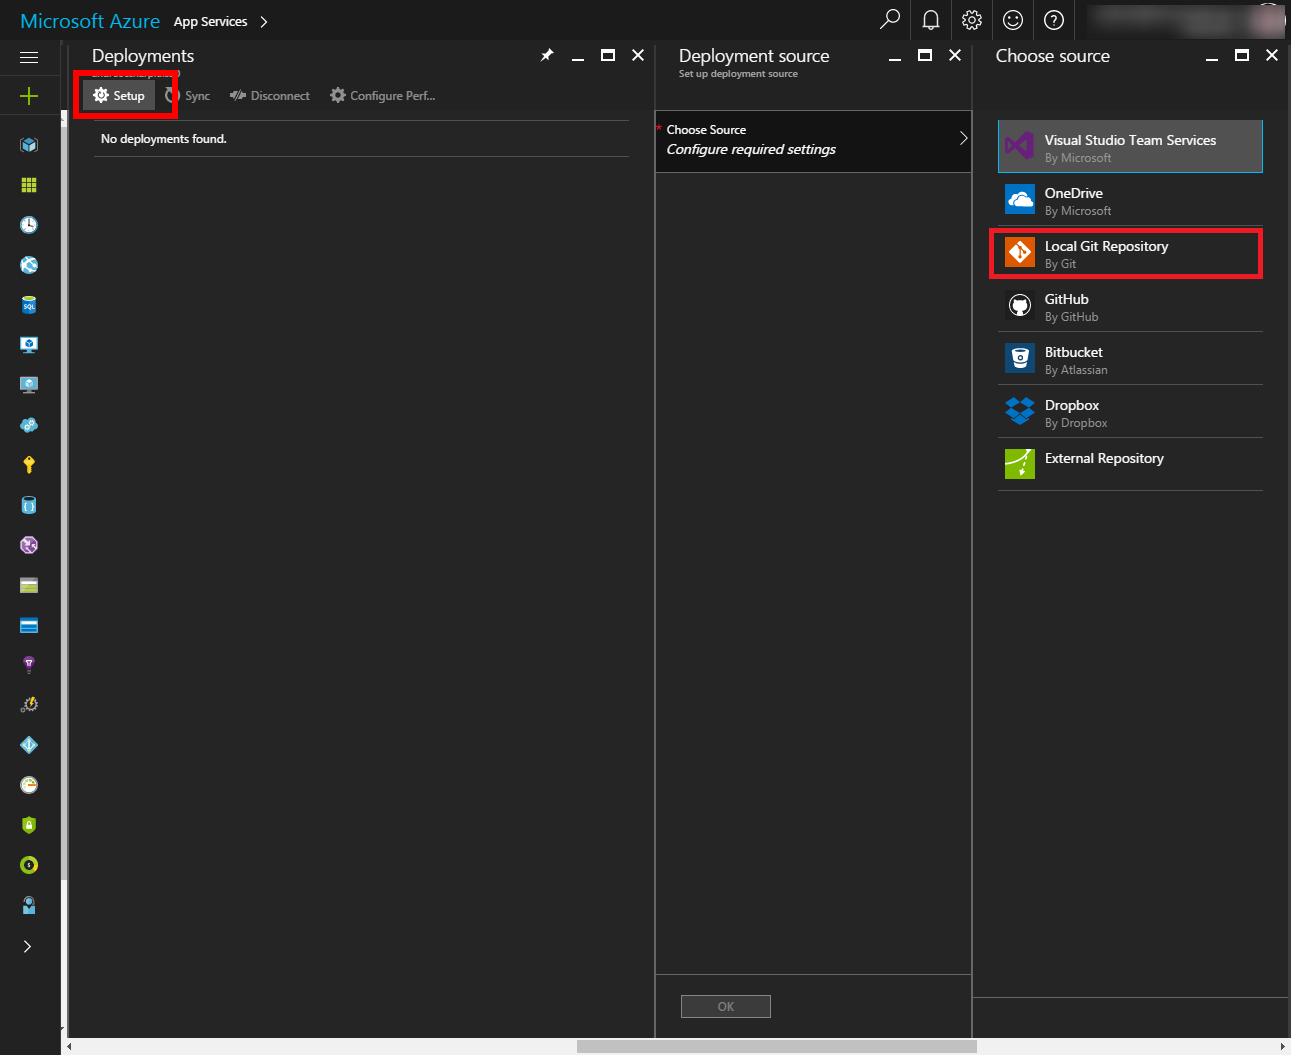
Part 1, you already knew how to create an Azure Chat Bot and deploy it from a local repository. In this article, I'll show you how to apply a Luis app into the bot and how to integrate it with Facebook Messenger.

1. Go to luis.ai website and create an app.
This Luis app will be used for a Pizza shop, so we create 3 intents: greeting, pizza and noservice. We also create an simple entity named topping:


And below are utterances for intents:
Here are another samples of utterances for pizza intent (you should map label topping every time inputting):
can i have pizza with pineapple and bacon
i would like a pizza with cheese bacon and pineapple
may i have pizza with pineapple and sausage
can i get tomato with cheese on my pizza
my pizza should have goat cheese and mozzarella on it

You can add more utterances. After inputting data, click Train & Test link and click Train Application button. Then keying sentences into Interactive Testing box:

If the training & test are ok, let publish the app:


2. Congratulation! You already had first Luis app, let link it with your bot service on Azure. Open the bot on Azure, click on SETTINGS tab and select the Luis app then click Save changes button:

Now, we will enhance the bot with power from the Luis app. Below is the code of the bot, it will recognize intents & entities from chat message to make corresponding response:

"use strict";
var builder = require("botbuilder");
var botbuilder_azure = require("botbuilder-azure");
var useEmulator = (process.env.NODE_ENV == 'development');
var connector = useEmulator ? new builder.ChatConnector() : new botbuilder_azure.BotServiceConnector({
appId: process.env['MicrosoftAppId'],
appPassword: process.env['MicrosoftAppPassword'],
stateEndpoint: process.env['BotStateEndpoint'],
openIdMetadata: process.env['BotOpenIdMetadata']
});

var bot = new builder.UniversalBot(connector);
var luisAppId = process.env.LuisAppId;
var luisAPIKey = process.env.LuisAPIKey;
var luisAPIHostName = process.env.LuisAPIHostName || 'api.projectoxford.ai';

const LuisModelUrl = 'https://' + luisAPIHostName + '/luis/v2.0/apps/' + luisAppId + '?subscription-key=' + luisAPIKey + '&verbose=true';

var recognizer = new builder.LuisRecognizer(LuisModelUrl);

var intents = new builder.IntentDialog({ recognizers: [recognizer] })
.matches('None', (session, args) => {
    session.send('Hello, welcome to Pizza Shop. How may I help you?');
})
.matches('greeting', (session, args) => {
    session.send('Hello, welcome to Pizza Shop. How may I help you?');
})
.matches('pizza', (session, args) => {
    var topping = builder.EntityRecognizer.findEntity(args.entities, 'topping');
    if(topping) session.send('Thank you for ordering. Your pizza with %s will be delivered to you in 30 minutes.', topping.entity);
    else session.send('Thank you for ordering. Would you like your pizza with anything else?');
})
.matches('noservice', (session, args) => {
    session.send('Thank you for ordering but we only sell pizza. Comeback later if you want a pizza.');
})
.onDefault((session, args) => {
    session.send('Sorry! I am a support bot, I did not understand \'%s\'. Please call XXXXX, our staff will be happy to help you.', session.message.text);
});

bot.dialog('/', intents);

if (useEmulator) {
    var restify = require('restify');
    var server = restify.createServer();
    server.listen(3978, function() {
        console.log('test bot endpont at http://localhost:3978/api/messages');
    });

    server.post('/api/messages', connector.listen());

    } else {
        module.exports = { default: connector.listen() }
}

Ok, let see our bot working:


3. We now have a bot serving our Pizza Shop, let connect it with Facebook so our customers can order pizza via Facebook messenger :)

To do that, you must have a Facebook Page and a Facebook Application. In the case of you don't have your Facebook Page, you can read this article for how to. If you don't have any Facebook Application, you can read here to register one.

Assuming that you already had your Facebook Application, go to link https://developers.facebook.com and open the application. Below is mine for example:

(Picture 1)

In the above picture, I already added Messenger product into my app. If you don't add yet, click + Add Product link >> find Messenger product then click Get Started button to add (see the following picture).


After that, go to https://dev.botframework.com/bots, open your bot on MS Bot Framework, find Facebook Messenger in Add a channel section then click to add and configure it. Scroll down to Callback URL and Verify Token for Facebook and copy values of Callback URL and Verify Token. They will be used for configuring Webhooks on your Facebook Application.

(Picture 2)

Back to the Facebook Application, click Setup Webhooks button to verify the callback URL of your bot:
(Picture 3)

Provide values copied from your bot (Picture 2) in to the opened box, select Subscription Fields (events) you want:


And click Verify and Save button. When done, let select your Facebook Page and click Subscribe button to subscribe the webhook to the page events:


To enable your app to send and receive messages using your Facebook Page for everyone coming to your page (public), you must add pages_messaging and submit to review (see this link https://developers.facebook.com/docs/messenger-platform/app-review for more info on this process) :


Otherwise you must add Developers or Testers for testing. You can do via Roles function:


Yeah! You finished necessary steps on Facebook. Return to the configuration of Facebook Messenger on your bot, let key values from Facebook into:


Facebook Page ID: find on the About menu of your Facebook Page:
Facebook App ID & App Secret: get from the dashboard of your Facebook App (Picture 1).
Page Access Token: get from Picture 3 when you select your page.

After keying above values, click Save button, your bot now is connected with Facebook Messenger:
It's time for talking with your bot. You can try via https://www.messenger.com/t/<Your Page ID> or use Facebook Messenger on your mobile:

Those are basic steps for creating your bot with MS Bot Framework and connect it with channels like Facebook Messenger. I hope you have a quick start for your bot.

Good luck! Any comment is welcome.


Friday, May 26, 2017

Create a Luis Chat Bot on Azure Bot Service - Part 1

Azure Bot Service is a service on Azure which provides pre-built environment for developing chat bot based on Microsoft Bot Framework and Luis.

In this post, I'll show you step by step to create a chat bot using Luis on Azure Bot Service. You will see how it is easy.

Before jumping to steps, I want to introduce the bot app architect with Microsoft Bot Framework (MBF) as the following picture:


MBF has 2 important parts: Bot Builder and Bot Connector. Bot Builder helps you build your bot with ASP.Net or Node.js and Bot Connector will help your bot connect with other messengers, website or email to send or receive message. Luis will provide a capacity of understanding natural language for your bot. You also can connect your bot with other machine learning service to make it more intelligent.

That's enough for the theory, let practice.

1. Go to your Azure Portal and create new Bot Service


Choose Bot Service as above picture then click Create button. Next fill in your bot name (app name), resource group and location :

After waiting for Azure finish creating the bot, search its name again and choose it. Azure will ask you Create Microsoft App ID and Password. Let click this button and it will navigate to MBF to create new bot app id and password:
Then click Generate an app password to continue button, let copy app id & the password generated:

Click Finish and go back to Bot Framework button, copy the password generated into password box. Then scroll down, in section Choose a language I choose NodeJS because I'm familiar with it. Continue to move down and select Language understanding (Luis) and click Create bot button:
It will show a confirmation box for creating a blank Luis application and connect it to your bot:

Let click OK button and wait for few minutes, then you will see the source code of your bot. Below is a sample:


By default main source code is in the file index.js, you can edit its source code and save on this window. On right side, you will see a Chat box (if you don't see, let click Test button on right top corner ). You can type your message there and see what it replies.

You also can see the endpoint of your bot in SETTINGS page, let copy it for testing in the emulator later:

Next step, I'll show you how to integrate its source code to your local repository.

2. To integrate the source code of your bot with local, click SETTINGS link and configure Continuous integration:

Firstly, let download the Zip file containing the source code generated (you can see in Section 1 of the above picture). Then click Set up integration source button. In next window, let click Setup button and select Local Git Repository. You can select other type of repository if you want. There are some for you.


In next window, you must key an username & password which are used for the Git:

Back to the SETTINGS, click to open Advance settings:


Let copy Git clone url, it will be used to link your local Git with the Git on Azure.

On your local computer, extracting the Zip of your bot source code (downloaded in above) into a folder. Assuming that you installed Git on your local computer. Change to inside the folder, run the following commands to create your local Git repository and link it with remote Git on Azure:

#git init
#git add -A
#git commit -m "<your message, e.g. my first azure bot>"
#git remote add azure https://<it is git clone url on azure>.git
#git push azure master

You will be prompted for the password you created earlier, let key in. Now you can develop your bot on the local as a normal Git project.

Yeah! It's ready for developing the bot. I often use Visual Studio Code for coding NodeJS project with Git. Here is the source code on VSC:


In next step, I'll show you how to use Bot Framework Emulator for testing the bot in your local.

3. Download he latest setup exe file of Bot Framework Emulator from this link: https://github.com/Microsoft/BotFramework-Emulator/releases. Then install it. Open it after installation:

Download ngrok (a tunneling software to connect to your bot that is hosted remotely, without it you only can send message to your bot but can not receive message from the bot). Click App Settings menu to point to the ngrok.exe file and click Save button:
Now, you can test your bot on the emulator. Let use the endpoint that is copied in step 1. above and key its app id & password into, then click Connect button:


And you can try, watching Log windows for debug information:

That's it. You already had basic weapons for building your bot. In next article, Part 2, I'll show you how to define a Luis app and use it in your bot. You also can find out how to connect your bot to Facebook in Part 2.

Any comment is welcome. Thank you!
Hung Le
Subscribe to RSS Feed Follow me on Twitter!